Another mini craft tutorial that I found in the depths of my harddrive 😀
Here is a mini pompom mad that I made quite some time ago to serve as a backdrop for photos. It’s only about 30cm across because I didn’t have much green yarn in my stash but it’s perfect for little macro photos.
It’s a pretty easy one, just make a bunch of pompoms…
Then sew them down to some felt. Gluing would probably be a lot quicker and less fiddly.
I crocheted a few little daisies to brighten it up a bit too.
One day I really want to make a HEAP of these daisies and make a gigantic blanket of them!
A quick mini DIY this morning with photos I found on the depths of my harddrive. But no I will most likely not be starting to do regular tutorials again, I just don’t have the energy for them right now.
You need:
Glasses
Paint
Decorations
Glue
Paintbrush
Nail file
This one isn’t so hard… just use the nail file to scratch up the surface of the frames so the paint sticks and pain them one section at a time using thin coats.
If you don’t like the finish you can topcoat with clear nail polish or PVA glue.
It’s been a very long time since I uploaded anything on my main Youtube channel but I am finally back in frame of mind for videos! I’ve got a lot of ideas but I’m beginning with a needle felted penguin kit from Daiso. Enjoy!
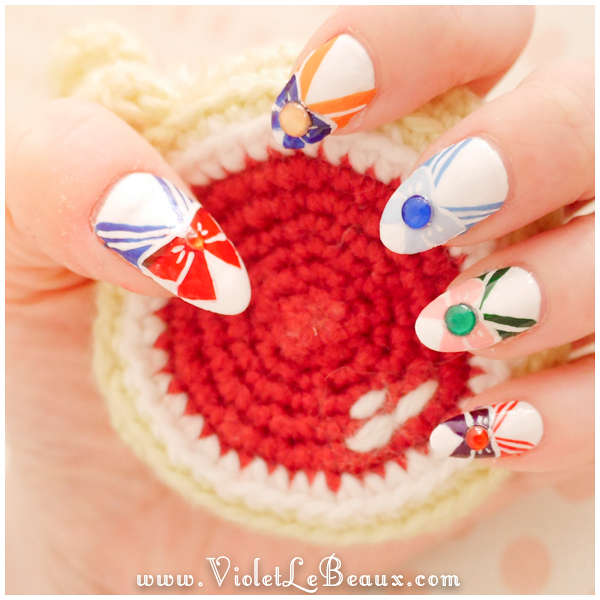
I can’t believe how long my nails are in these photos *_* I think I cut them down super short right after this and I’m only just growing them again now!
Anyway, I promised this tutorial ages ago and now that I’m cleaning out my photos I figure I should make good on the promise!
Start by applying a base coat if you need one.
Then apply white to the entire nail. Use as many coats as you need to make it opaque.
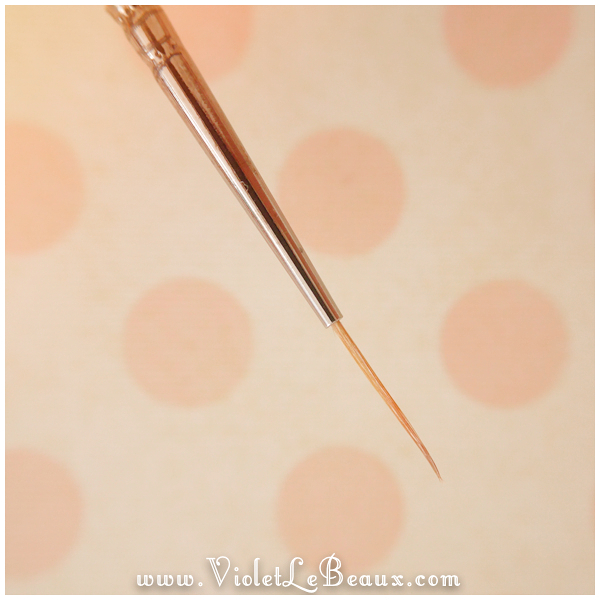
It’s a good idea to use a long thin striping brush for this design because it will be easier to get straight lines.
Pick the colour of the sailor collar you want to do and use the striping brush to paint a line diagonally from one cuticle down.
Do on the other side as well:
Fill in the rest of the nail. You could leave the bottom white to avoid steps later but I wasn’t really thinking very well when I did this haha!
Add a white stripe or two depending on the uniform you’re doing.
Then if you didn’t leave the gap down the bottom, paint across it with white:
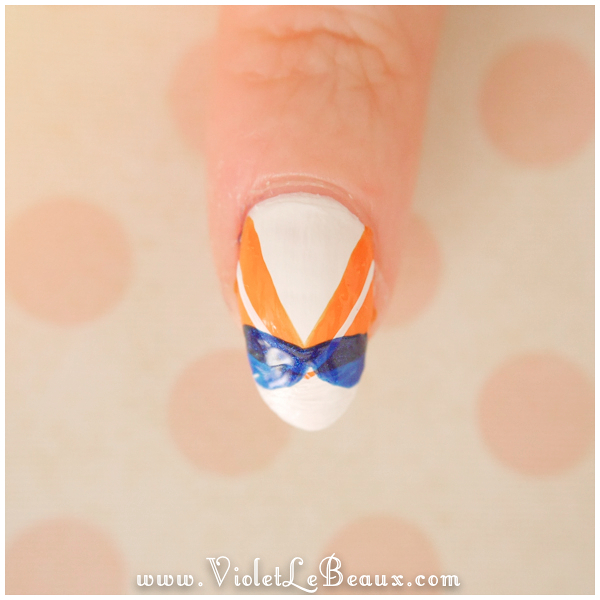
Next add the bow shape in the relevant colour…
And a diamante to the middle!
Now using white, outline the bow and give it a little definition.
Once everything is totally dry, give it a clear coat!
This bear looks like how I feel >_> Over the weekend our horrible neighbours finally moved out and they had a loud blow out party and trashed their place as a final “suck it” to their landlord. It was loud and late at night and I just want to sleep for about a week now. I don’t really have a lot of energy lately to start with!
Instead let’s make a crochet bear coffee cosy 😀 I’m using a 3mm hook and crocheting with 2 strands of yarn at once to give it a mottled effect.
I measured the size off a Starbucks cup holder but I think the Aus sizes are smaller than the American ones so probably best to measure your cups locally!
Start by chaining 40 and joining in a circle.
Chain 2 and then start single crocheting around the chain. Continue going around in a spiral around and around. Make sure you mark where the beginning of the round is so you can count accurately.
I wanted a thin bear so I did 6 rounds then bound off.
Next, join on some yarn around the front where the first ear will start. Single crochet 4 stitches then turn, chain one, skip the first stitch and single crochet into the next 2 stitches. Slip stitch into the next stitch and bind off.
Repeat this for a second ear on the other side.
To finish the top and make the ears look nice and round, slip stitch all the way around the top.
Use some black yarn to sew on a face. You can choose to make it look a little happier and less sleep deprived if you like >_>
Of course, it’s much cuter if you add some blush too. I always used to use yarn or felt or something physical to make blush spots but lately I’ve been using actual blush and it’s so much softer and cuter!
Yay grumpy bear!
I hope you guys are well and having a good week. I will catch up on sleep and have enough energy soon to stop disappearing for weeks at a time I hope soon!
Today let’s do a mini craft! I saw these little flags at a junk store a while ago but figured I would save some money and diy. I made about 30 of them for our Billy Idol Day lunch and only used 3 >_>
So cute though right?
You need:
Cute tape, I used washi tape but you can use whatever
Toothpicks
Scissors
Literally all you do is take a piece of tape at least twice as long as you want your flag…
Fold it in half over the toothpick so it sticks to itself…
And then snip the end into points.
Rinse and repeat till you have enough!
This really probably is the easiest tutorial I’ve ever made here haha! But they look so cute when you poke them into cupcakes or bowls of stuff. I’m using the left overs now to jazz up lazy dinners! I’m having a lot of lazy dinners lately >_>
Illustrator. Strong tea, knitting, watercolours, and making a video game called Moonlight in Garland. Living with her adorable husband Jimmy, fluffy puppy Miss Lottie and Bergamot Bunny in Melbourne, Australia.
By continuing to use the site, you agree to the use of cookies. more information
The cookie settings on this website are set to "allow cookies" to give you the best browsing experience possible. If you continue to use this website without changing your cookie settings or you click "Accept" below then you are consenting to this.


 Then sew them down to some felt. Gluing would probably be a lot quicker and less fiddly.
 I crocheted a few little daisies to brighten it up a bit too.


 Done!
Done!


 I hope you guys are well and having a good week. I will catch up on sleep and have enough energy soon to stop disappearing for weeks at a time I hope soon!


