

I can’t believe how long my nails are in these photos *_* I think I cut them down super short right after this and I’m only just growing them again now!
Anyway, I promised this tutorial ages ago and now that I’m cleaning out my photos I figure I should make good on the promise!

Start by applying a base coat if you need one.

Then apply white to the entire nail. Use as many coats as you need to make it opaque.

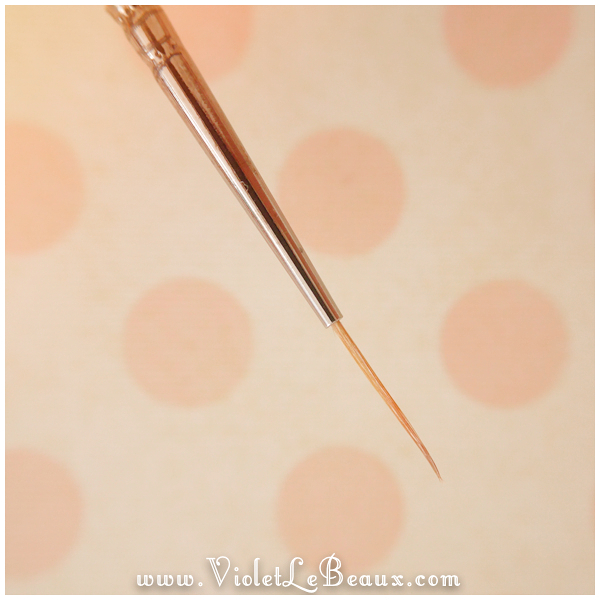
It’s a good idea to use a long thin striping brush for this design because it will be easier to get straight lines.

Pick the colour of the sailor collar you want to do and use the striping brush to paint a line diagonally from one cuticle down.

Do on the other side as well:

Fill in the rest of the nail. You could leave the bottom white to avoid steps later but I wasn’t really thinking very well when I did this haha!

Add a white stripe or two depending on the uniform you’re doing.

Then if you didn’t leave the gap down the bottom, paint across it with white:

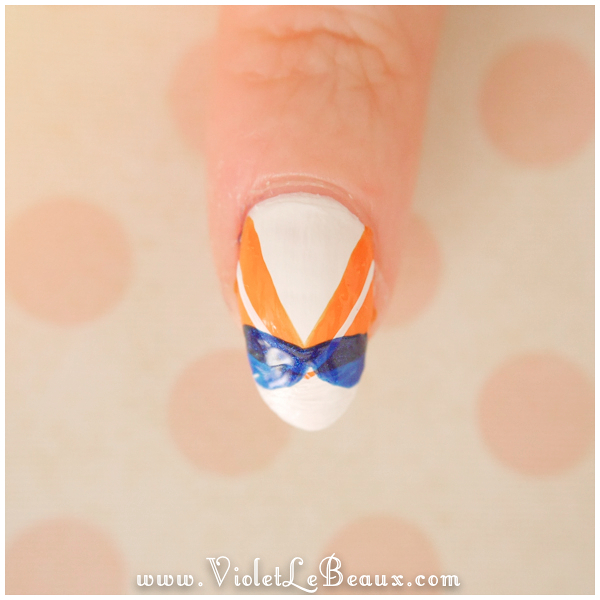
 Next add the bow shape in the relevant colour…

And a diamante to the middle!

Now using white, outline the bow and give it a little definition.

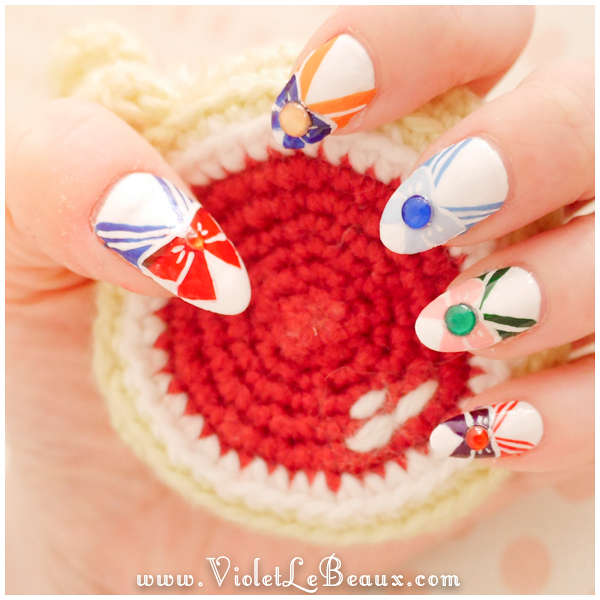
Once everything is totally dry, give it a clear coat!

And done!


